iPads and iPhones (and I would wager Android devices as well) have a simple feature called "Do Not Disturb". Since we have so many iPads here in CPS, I'll stick to that device. It's easy to set up and easier to turn on. Here's how you use it.
Step 1: In your Settings app, you'll see the option for "Do Not Disturb". Tap on it.

Step 2: There are several options to choose from within the Do Not Disturb screen. The one that's most important is the bottom option for "Silence". You want it set to "always" so the notifications will be silenced when students are on their home screens or within an app. Otherwise, it's only good for the lock screen.
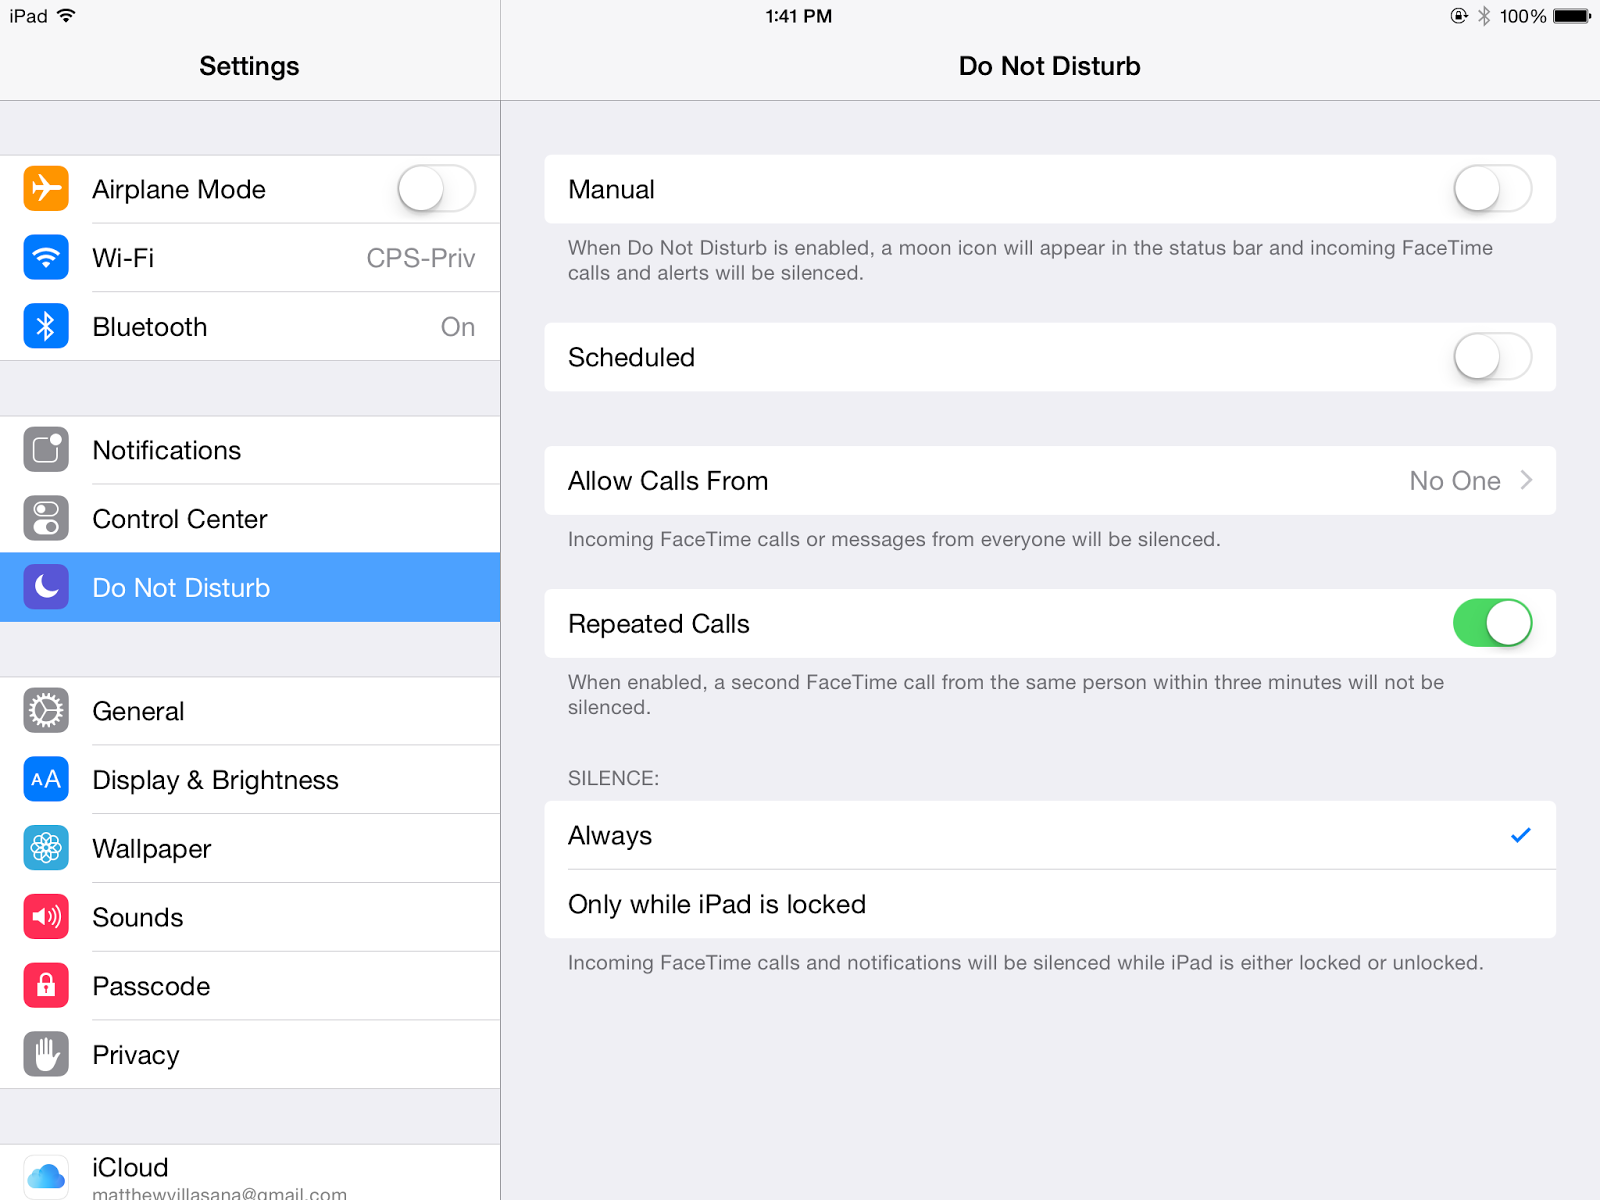 |
| "Do Not Disturb" menu |
You can also set up a scheduled "Do Not Disturb". For example, you could have students set it up during the school hours so it turns on automatically for them.
Step 3: Make sure notifications are set for the apps you want. Usually when you open an app for the first time, you'll get asked if you want to turn on push notifications. However, if you're like me, you'll likely gloss over it to get started with the app. This is where you can make adjustments to receive the type of notification you want from the apps you want.
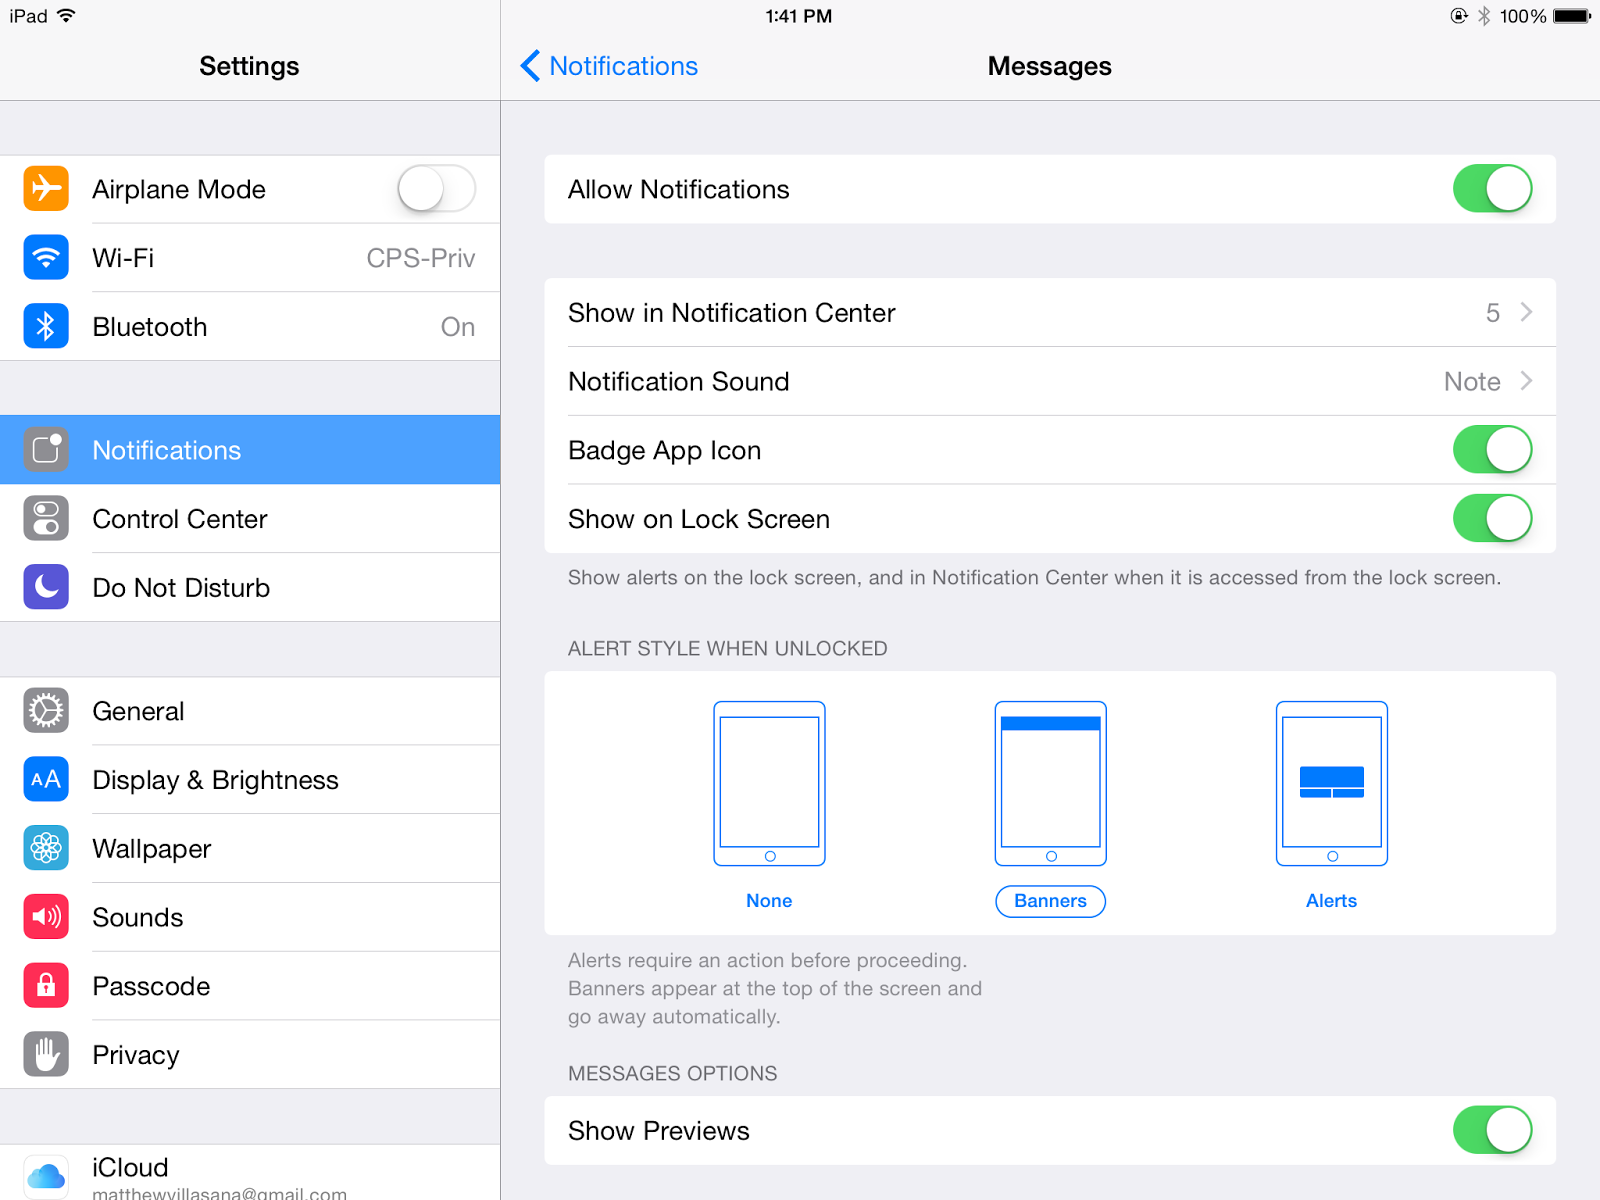 |
| Set up your notifications |
Just visit your "Notifications" area in "Settings". Go through your list of apps and set the options you want. You can choose to include badges (the little numbers in the red circles), show notifications on the lock screen, and select what type of notification you want (none, banner, or alert). You can also choose if you want a preview of the message which can be handy with email, messages, or perhaps news events. Of course, previews could be detrimental if you are displaying your iPad when you receive a private message...
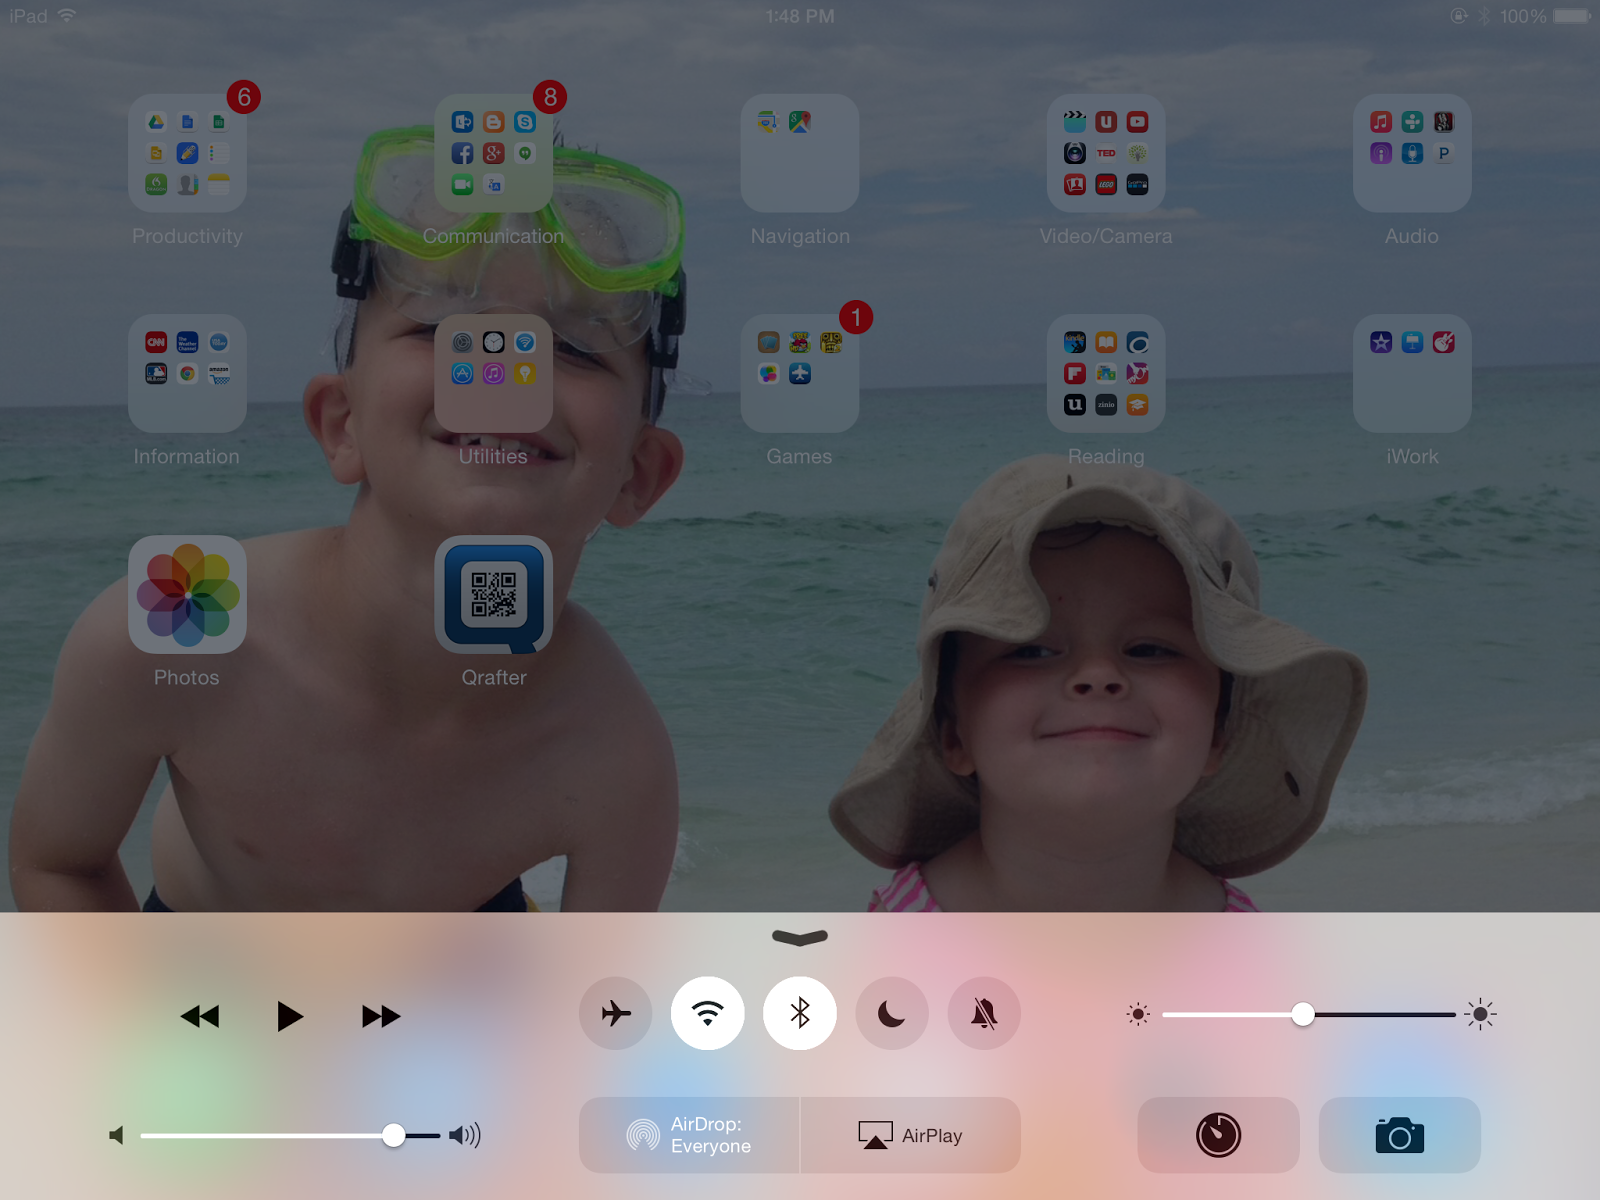 |
| Reveal the control center |
That's about it. I think teaching skills such as these are an important part of your digital citizenship curriculum. Instead of telling students that they can't be notified, give them some tools to manage their notifications to create a win-win situation.
No comments:
Post a Comment